
Perfect Fit Sewing Tips: Learn the Art of Taking Measurements for Sewing Success
You've spent hours crafting the perfect garment, only to find it doesn't fit right. Frustrating, isn't it? The secret to sewing success lies in mastering the art of taking measurements for sewing. Imagine creating clothes that hug your body just the way you imagined. In this guide, you'll uncover perfect fit sewing tips that transform your DIY clothing projects into designer-worthy creations. Get ready to learn how to measure for clothes like a pro and elevate your sewing garment fitting skills to new heights.
Basics of Taking Measurements
Essential Tools for Accurate Measurements
Accurate measurements are the cornerstone of perfect fit sewing. To begin, gather essential tools that will ensure precision in your measurements. A flexible tape measure is a must-have. This tool easily wraps around curves and contours, giving you an accurate reading. Pair this with a mirror to verify your posture and ensure tape placement is correct. Chalk or fabric markers are useful for marking points on fabric without causing lasting damage.
Another key tool is a notebook or digital device for recording your measurements. Keeping track of your numbers ensures you maintain consistency with your projects. You might also consider a measurement chart. This can serve as a quick reference for common measurements and adjustments. Lastly, having a friend or family member assist you can improve accuracy. They can double-check measurements and provide a second set of eyes.
These tools create a reliable setup for capturing your body’s dimensions. They help maintain consistency and accuracy across various projects. As you gather these essentials, you'll be more prepared to tackle any sewing challenge with confidence and precision.
Common Mistakes and How to Avoid Them
Taking measurements for sewing can be tricky, and common mistakes often lead to ill-fitting garments. One frequent error is measuring over bulky clothing. Always wear fitted attire or measure directly over undergarments for the best results. Avoid using an old or stretched tape measure, as this can skew your readings.
It's easy to measure incorrectly if you're not standing straight. Ensure you stand tall, with feet together and arms relaxed at your sides. Another pitfall is neglecting to record measurements immediately; memory can be unreliable, so jot down numbers right away. Be mindful of applying the correct tension to the tape—too tight, and your garment will fit snugly; too loose, and it will be baggy.
To avoid these mistakes, regularly check your tools for wear and tear. Practice measuring consistently, and take notes diligently. Consider cross-referencing your measurements with online guides to ensure accuracy. By paying attention to these details, you can improve your sewing garment fitting with each new project.

Standard size chart reference
Perfect Fit Sewing Tips
Ensuring the Right Fit Every Time
Perfect fit sewing isn't just about taking measurements; it's about understanding how they translate into a well-fitting garment. Start by comparing your measurements with a pattern's sizing chart. This comparison will guide you in selecting the correct pattern size. Always take into account personal fit preferences—some may prefer a looser fit, while others desire a snug look.
When cutting fabric, consider adding seam allowances for adjustments. These extra inches allow room for error and alterations. Basting is a temporary stitch technique that helps test the fit before final sewing. It allows you to make changes without damaging the fabric. This step is crucial when perfecting sewing garment fitting.
Measure twice, cut once is a mantra to live by. By double-checking your measurements, you ensure the final product aligns with your expectations. Having a trusted sewing buddy to offer advice or a second opinion can also be invaluable. As you incorporate these practices, achieving the perfect fit will become second nature.
Adjusting Patterns for Personal Fit
Adjusting patterns is a crucial skill in perfect fit sewing. Patterns are designed for a generic body shape, which may not align with your unique measurements. Start by identifying areas that require adjustment. This might include the waist, bust, or length. Compare your measurements against the pattern guidelines to pinpoint these discrepancies.
Alter the pattern by making small incremental changes. Use a ruler or a French curve to redraw pattern lines smoothly. If you need to add or subtract length, cut the pattern and either spread or overlap the pieces before taping them back together. This method ensures that the garment's proportions remain balanced.
Consider making a muslin, or test garment, to see how changes affect the fit. This practice can save you time and fabric in the long run. Always keep a record of your adjustments; this will be helpful for future projects. By mastering pattern adjustments, you can achieve a truly personalized fit for each creation.
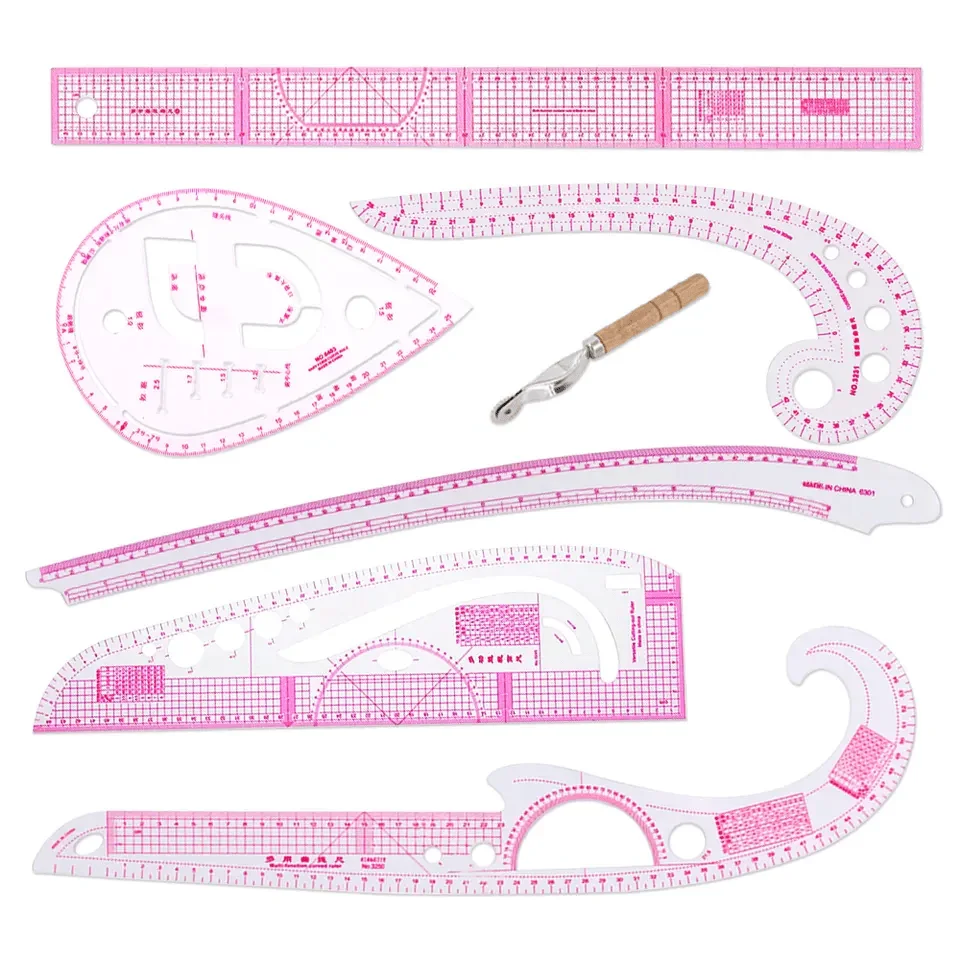
French curve rulers
DIY Clothing Measurements
How to Measure for Clothes at Home
Learning how to measure for clothes at home is an empowering skill for any sewing enthusiast. Begin by gathering your tools—tape measure, mirror, and a notebook. Stand in front of the mirror to ensure accuracy. Always measure over tight-fitting clothing or undergarments for best results.
Bust: Wrap the tape measure around the fullest part of your bust, ensuring it's level at the back.
Waist: Locate your natural waist, usually the narrowest part of your torso, and measure there.
Hips: Measure around the widest part of your hips, keeping the tape measure parallel to the floor.
Length: For dresses or tops, measure from your shoulder down to your desired length.
Record these measurements immediately. Regularly update them, as body dimensions can change over time. Utilise online tutorials to refine your technique. Consistent practice will increase your confidence in DIY clothing measurements, ensuring your sewing projects fit perfectly.
Sewing Garment Fitting for Beginners
If you're new to sewing, garment fitting can seem daunting. Start with simple patterns that allow room for adjustments. Choose fabrics that are forgiving, such as cotton or knits, which are easier to manage for beginners. As you gain confidence, gradually work with more complex patterns and materials.
When sewing, use basting stitches to temporarily hold pieces together. This approach provides flexibility for alterations. Try on the garment frequently during the process to check for fit. Pinch and pin areas that need adjustment, then refine your work based on these observations.
Join our local sewing classes or online community for support and guidance. Engaging with fellow enthusiasts can provide valuable insights and encouragement. Remember, patience and practice are key to mastering sewing garment fitting. With time, you'll develop the skills necessary to create beautifully fitted garments that showcase your craftsmanship.